


So I was thinking... that burlap makes a mess! This is the mess I had as I was making my friend KDill a wreath for her wedding shower! My life lately, has been consumed with four things: 1. wedding showers,parties, and everything bridal for friends; 2. teaching/work, all the time, home and school; 3. crafting-I have to relax somehow 4. reading His word.(read my post about finding my group, I'm still excited and cannot wait till tomorrow to discuss Daniel 1)
Weddings have been consuming my life for the past year, being in three weddings for three of your close friends is very busy work! I have been blessed with great friends who have found their match that God has chosen for them. It has been so great getting to see each of their relationships grow into long lasting commitment. For their wedding gifts, I tried to make something for each of them. I thought it was a great way to take the time to create something for them to show my love of our friendship. This past weekend I hosted a shower for my bestie KDill and had the opportunity to make her a wreath and set up the sign in table. I hope she enjoys the wreath and it brings her joy as it hangs on her new door in Slidel, LA!
First here are some pictures of how it turned at the shower, followed by the tutorial.

B for the Soon to be Mrs. B!

The sign in table, all ideas thanks to Pinterest!

Love is patient, love is kind... 1 Corinthians 13:4-8

The bride and me with her wreath! Enjoy!
So many rosettes, So little time
Tutorial:
(warning: many rosettes = lots of time, make sure you start early!)
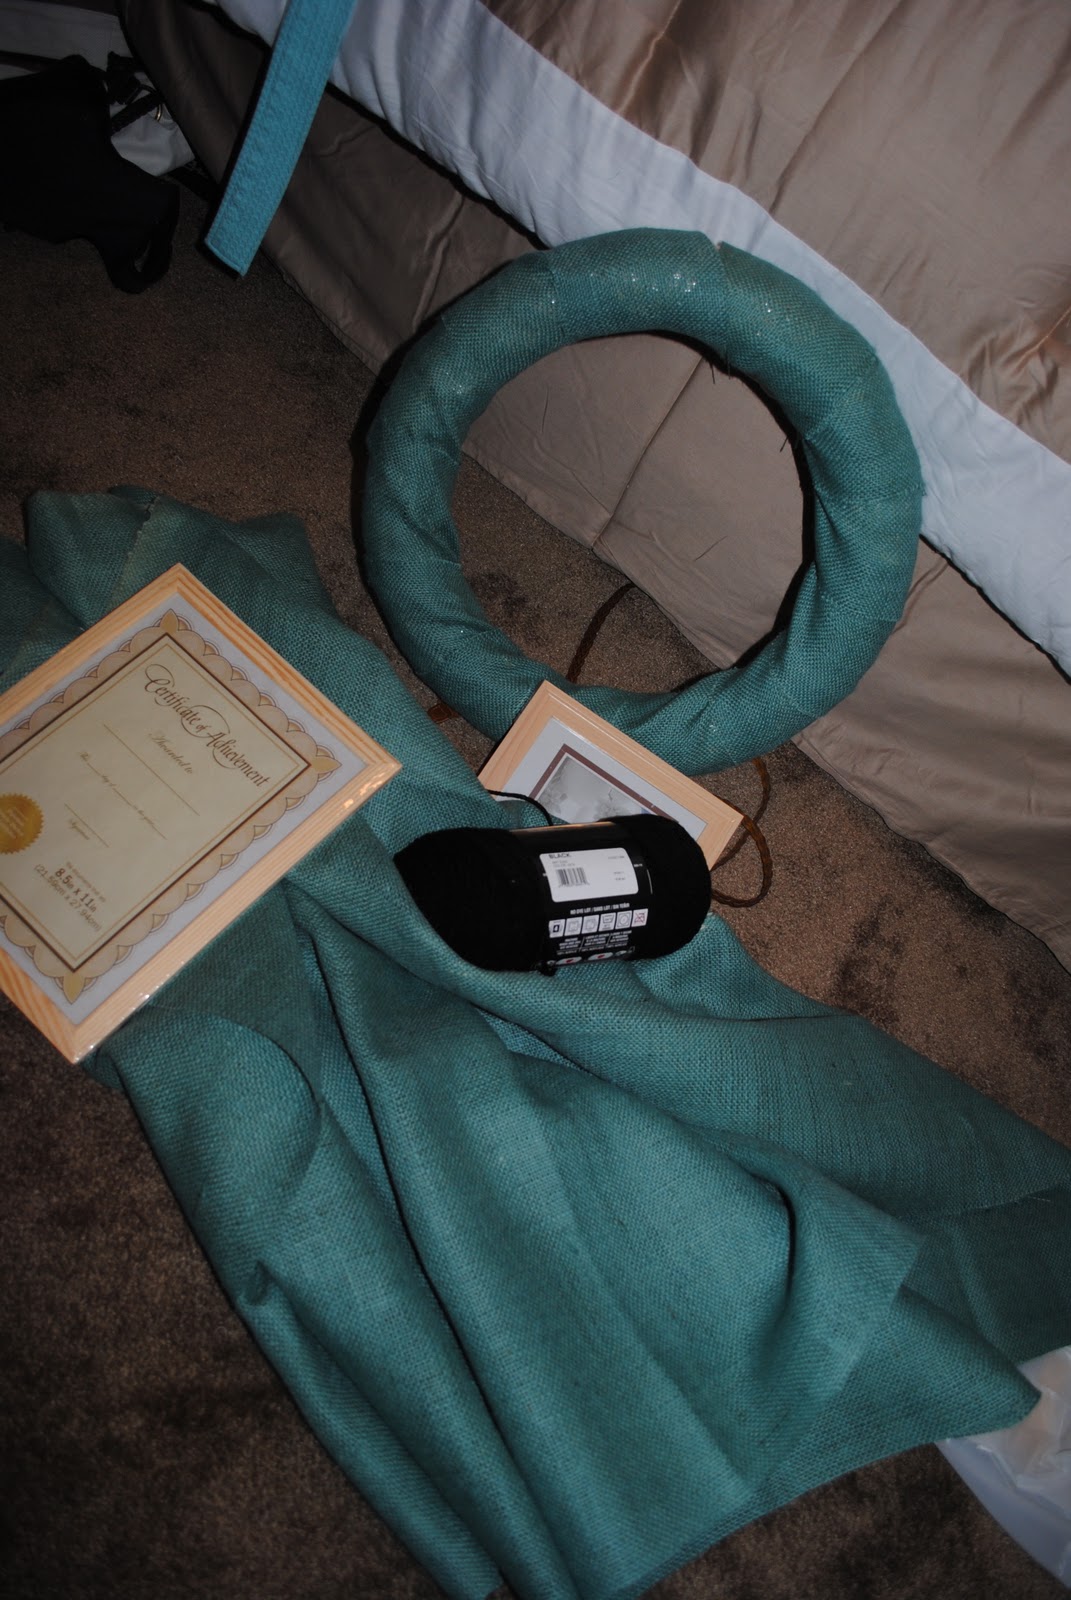
1. Wrap burlap around the wreath, hot gluing at the beginning and end.

2. Add the ruffle to the front of the wreath. (Sorry I should have documented more) This is taken with the wreath turned over. To make the ruffle, simply thread a piece of string or yarn back and forth through a strip of burlap. Tighten the string to create your desired ruffle and hot glue to your wreath.

3. Add your rosettes. You will need around 30, depending on the size of your rosesttes. Mine were the size of a half dollar. Rosettes are made by twisting strips of fabric(2 inches wide) and then wrapping the fabric around itself and hot gluing to secure along the way.

4. Keep working! Don't give up!
5. Attach ribbon to the back of a store bought letter(Hobby Lobby, where else!) I slid the ribbon under the ruffles to give the wreath more stability when hanging.
6. Give away to a friend or keep for yourself and enjoy!
~Rachel
Is that a fabulous wreath I see in the background???
ReplyDeletePretty photo. I like the different colors.
ReplyDeletePretty! Pretty! I love teal...
ReplyDeleteJeanna @ dramaqueenseams.blogspot.com